
Olive Garden Breadsticks are more than just a side dish; they are an experience, a promise of comfort and flavor that defines a casual Italian-American meal. Who among us hasn’t succumbed to the allure of that never-ending basket, steaming with garlic butter and perfectly salted? I know I certainly have!
These iconic, pillowy soft creations have become synonymous with deliciousness and generosity, embodying the very spirit of Olive Garden’s welcoming atmosphere.
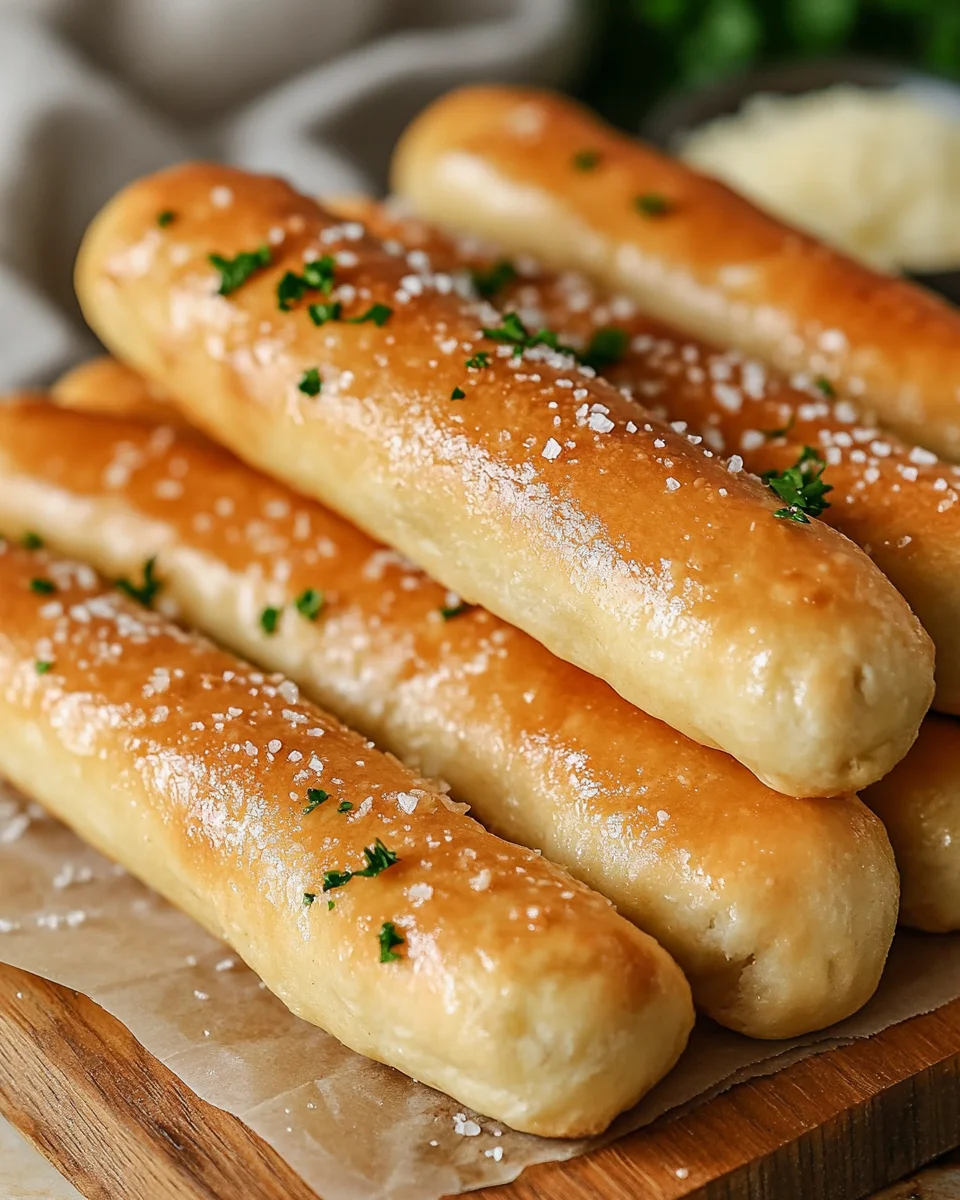
Their unique combination of a crisp exterior and a tender, airy interior, drenched in that unmistakable garlic and butter topping, makes them utterly irresistible. It’s no wonder that countless diners look forward to them as much, if not more, than their main course. They evoke a sense of warmth, nostalgia, and pure carb-fueled joy. For years, many have dreamed of replicating that magical taste at home. Today, I am thrilled to share a recipe that brings the authentic experience of those beloved Olive Garden Breadsticks right to your kitchen. Get ready to bake, butter, and bask in the glory of your own endless supply!

Ingredients:
- For the Dough:
- 1 ½ cups (360ml) warm water (between 105-115°F or 40-46°C)
- 2 ¼ teaspoons (1 standard packet) active dry yeast
- 1 tablespoon granulated sugar, plus a pinch for the yeast
- 1 teaspoon salt
- 3 ½ – 4 cups (420-480g) all-purpose flour, plus more for dusting
- 2 tablespoons olive oil, plus more for greasing the bowl
- For the Garlic Butter Topping:
- ½ cup (113g) unsalted butter, melted
- 1-2 teaspoons garlic powder (to taste)
- Pinch of salt (optional)
Activating the Yeast and Preparing the Dough
Recreating those iconic, warm, garlicky Olive Garden Breadsticks at home is surprisingly straightforward, and it all begins with waking up our yeast. This is a crucial step for achieving that signature fluffy texture!
- First things first, grab a large mixing bowl – I usually opt for my stand mixer bowl if I’m feeling fancy, but a regular large bowl works perfectly fine. Pour in your 1 ½ cups of warm water. It’s really important that the water is just right; too hot and it will kill the yeast, too cold and it won’t activate properly. I like to use a thermometer to ensure it’s between 105-115°F (40-46°C).
- Now, sprinkle the 2 ¼ teaspoons of active dry yeast over the warm water. Add a small pinch of granulated sugar at this point too – it gives the yeast a little something to snack on and helps it get going. Gently stir it once or twice.
- Let the yeast bloom: Set the bowl aside for about 5-10 minutes. What you’re looking for is a frothy, foamy layer to form on top of the water. This tells you your yeast is alive and active, ready to work its magic. If you don’t see this foamy cap, your yeast might be old or the water temperature was off, and it’s best to start over. This initial check ensures all your hard work won’t be in vain.
- Once your yeast is wonderfully foamy, it’s time to build our dough. Add the remaining 1 tablespoon of granulated sugar, the 1 teaspoon of salt, and the 2 tablespoons of olive oil to the yeast mixture. Give it a good stir to combine everything.
- Next, we’ll start adding the all-purpose flour. I always begin by adding about 3 cups of flour at this stage. If you’re using a stand mixer with a dough hook, turn it on low speed. If you’re mixing by hand, use a sturdy wooden spoon or a dough whisk. Gradually mix the flour until a shaggy dough starts to form.
- Continue adding the remaining flour, about a quarter cup at a time, until the dough comes together and starts to pull away from the sides of the bowl. The total amount of flour can vary slightly depending on humidity and how accurately you measured your other ingredients, so trust your instincts. The dough should be soft, slightly sticky, but manageable.
- Kneading is key: Now for the kneading! If you’re using a stand mixer, let it knead on medium-low speed for about 7-10 minutes. For hand kneading, turn the dough out onto a lightly floured surface. Knead vigorously for about 10-12 minutes. The goal is to develop the gluten, which gives the breadsticks their chewiness and structure. Your dough should transform from a shaggy mess into a smooth, elastic ball that springs back when you gently poke it with your finger. It should no longer be excessively sticky. Don’t skimp on the kneading; it’s fundamental for the light, airy texture of classic Olive Garden Breadsticks.
The First Rise – Proofing Perfection
After all that kneading, our dough needs a well-deserved rest to rise and develop its full flavor and texture. This first rise is critical for those light and fluffy breadsticks we adore.
- Lightly grease a clean large bowl with a little bit of olive oil. This prevents the dough from sticking as it expands.
- Transfer your beautifully kneaded dough ball into the oiled bowl, turning it once to coat the entire surface with oil. This also helps to prevent a dry skin from forming on the dough.
- Cover the bowl tightly with plastic wrap or a clean kitchen towel.
- Find a warm, draft-free spot in your kitchen for the dough to rise. Ideas for a warm spot include a sunny windowsill, inside an oven (turned off, of course!) with just the light on, or near a heating vent. The warmth encourages the yeast to work efficiently.
- Let the dough rise for approximately 1 to 1 ½ hours, or until it has noticeably doubled in size. The exact time can vary depending on the temperature of your room. You’ll know it’s ready when it looks puffy and airy. This is where the magic happens, as the yeast produces carbon dioxide, creating those wonderful air pockets.
Shaping the Iconic Olive Garden Breadsticks
Once your dough has completed its first glorious rise, it’s time to transform it into the recognizable shape of our beloved Olive Garden Breadsticks. Precision here helps with even baking!
- Gently punch down the risen dough to release the accumulated gases. This is a satisfying step! Turn the dough out onto a lightly floured surface. Avoid adding too much extra flour, as it can make the breadsticks tough.
- Using your hands, gently form the dough into a rough rectangle. You’re aiming for something that’s easy to divide.
- Now, we need to divide the dough into individual breadsticks. For consistent sizing, I like to first cut the dough in half, then each half in half again, and so on, until I have approximately 16-20 equally sized pieces. You can eyeball it, or for extreme precision, weigh each piece of dough. Each piece should be roughly 1.5 to 2 ounces.
- Take one piece of dough at a time. Roll it between your palms and the lightly floured surface into a long rope, about 6-8 inches long and roughly ½ to ¾ inch thick. The goal is a uniform thickness from end to end, which ensures even baking. If the dough springs back too much, let it rest for a minute or two, then try again. The dough should be pliable and cooperative.
- As you shape each breadstick, arrange them about 1 inch apart on a parchment paper-lined baking sheet. I usually use two large baking sheets to give them ample space. Giving them space is important as they will expand again during the second rise and baking.
The Second Rise and Baking to Golden Perfection
Our shaped breadsticks need one more period of rest to become perfectly puffy before they hit the heat. This second rise, often called proofing, is vital for the ultimate light texture.
- Once all your breadsticks are shaped and neatly arranged on the baking sheets, lightly cover them with a clean kitchen towel or a loose sheet of plastic wrap.
- Let them rise again in a warm, draft-free spot for another 30-45 minutes, or until they look visibly puffy and a bit larger, but not quite doubled in size this time. You’re looking for that soft, pillowy appearance. This gentle rise ensures a delicate crumb structure.
- About 15 minutes before the end of the second rise, preheat your oven to 375°F (190°C). Make sure your oven is fully preheated for even baking.
- Once the breadsticks have completed their second rise, carefully transfer the baking sheets to the preheated oven.
- Bake for 12-15 minutes, or until the breadsticks are beautifully golden brown on top and bottom. Keep an eye on them, as oven temperatures can vary. They should have a lovely, subtle crispness on the outside and be soft within. A perfectly baked Olive Garden Breadstick is a sight to behold, with its inviting golden hue!
The Signature Garlic Butter Finish
This is arguably the most exciting part – giving our homemade Olive Garden Breadsticks their signature irresistible garlic butter coating. This step transforms them from simple bread into something truly extraordinary.
- While your breadsticks are baking, prepare the glorious garlic butter topping. In a small microwave-safe bowl or a small saucepan, melt the ½ cup of unsalted butter. You can do this gently on the stovetop or in the microwave in 30-second intervals until fully melted.
- Once the butter is melted, stir in the 1-2 teaspoons of garlic powder. I usually start with 1 teaspoon and add more if I want a stronger garlic punch. A tiny pinch of salt can also enhance the flavors, but this is optional. Mix until well combined. The aroma alone will start making your mouth water!
- As soon as the breadsticks emerge from the oven, still hot and steamy, generously brush the tops and sides with the melted garlic butter mixture. Don’t be shy here; the warm breadsticks will soak up all that delicious garlicky goodness. Use a pastry brush for the best coverage. The key is to brush them immediately while they are piping hot, allowing the butter to seep into every pore and create that iconic savory crust.
- If desired, you can sprinkle a little extra garlic powder or even a dash of dried parsley over the buttered breadsticks for an even more authentic look and flavor.
Serving Your Homemade Olive Garden Breadsticks
Congratulations! You’ve successfully created your own batch of delicious Olive Garden Breadsticks. Now for the best part – enjoying them!
- Serve your breadsticks warm, straight from the oven, alongside your favorite pasta dish, soup, or salad. They are truly at their peak when fresh.
- These breadsticks are fantastic for dipping into marinara sauce, alfredo, or even just a simple olive oil and balsamic vinegar blend.
- Storage: If by some miracle you have any leftovers, store them in an airtight container at room temperature for up to 2-3 days. To reheat, wrap them loosely in foil and warm them in a 350°F (175°C) oven for about 5-7 minutes, or until heated through. You can also quickly microwave them, but they might lose a bit of their crispness.
- Enjoy the satisfaction of bringing a taste of your favorite Italian-American restaurant right into your home kitchen! These homemade Olive Garden Breadsticks are truly a labor of love, and every bite will be worth the effort.

Conclusion:
Well, friends, we’ve reached the end of our culinary journey for today, and I truly hope you’re feeling inspired! This isn’t just another recipe; it’s an invitation to experience pure, unadulterated comfort and joy right in your own kitchen. I genuinely believe this recipe is an absolute must-try because it delivers on every single promise: simplicity, incredible flavor, and that undeniable warmth of homemade goodness. From the moment you mix the dough, to the heavenly aroma filling your home as they bake, to that first glorious bite, every step is a delight. We’re talking about a texture that’s perfectly crisp on the outside and wonderfully soft and fluffy on the inside, all kissed with just the right amount of savory seasoning. It’s an experience that goes beyond just eating; it’s about creating moments, sharing laughter, and savoring the simple pleasures of life. You’ll be amazed at how easily you can achieve such professional-level results, transforming basic ingredients into something truly extraordinary.
But the adventure doesn’t stop once these beauties come out of the oven! The versatility of this recipe is truly one of its greatest strengths, opening up a world of serving suggestions and creative variations. Of course, they are absolutely divine on their own, especially when dipped into a rich marinara sauce or a creamy alfredo. But why stop there? Imagine pairing them with a hearty bowl of minestrone soup on a chilly evening, or alongside a vibrant, fresh garden salad with a zesty vinaigrette. They are the ideal accompaniment to any pasta dish, soaking up all those delicious sauces, making every bite even more flavorful. For a fun twist, consider making them part of a brunch spread, perhaps with a sweet cinnamon-sugar butter topping for a delightful change. You could also experiment by kneading in some freshly chopped herbs like rosemary or thyme into the dough before baking, or sprinkling a generous amount of Parmesan cheese over them in the last few minutes of baking for a cheesy, savory crust. The possibilities are truly endless! Think about turning them into small, savory sandwiches by slicing them horizontally and stuffing them with deli meats and cheese, or serving them alongside a charcuterie board for an elevated appetizer. Don’t be afraid to get creative; this recipe is a fantastic canvas for your culinary imagination.
Now, here’s my favorite part: it’s your turn to make some magic!
I can’t emphasize enough how rewarding it is to create something so delicious from scratch. There’s a profound sense of satisfaction that comes with baking your own bread, and this recipe makes it incredibly accessible, even for novice bakers. So, please, don’t hesitate! Head into your kitchen, gather those ingredients, and give this recipe a try. You are going to absolutely love the process, and more importantly, you are going to fall head over heels for the results. This recipe is a game-changer, offering that quintessential comfort food experience that often reminds us of classic favorites. In fact, I’d confidently say that with a little practice, your homemade creations might even become a serious contender against the beloved Olive Garden Breadsticks you cherish! Imagine the proud smiles on the faces of your family and friends when they taste these warm, fluffy, garlic-buttery delights, knowing you made them with your own hands. It’s an instant mood-booster, a crowd-pleaser, and a testament to the simple joy of baking. Once you’ve whipped up a batch, I would absolutely love to hear about your experience. Did you add any unique twists? What did you serve them with? Did your family rave about them? Please share your stories, photos, and any brilliant ideas you come up with in the comments below. Your feedback and creativity inspire not just me, but our entire community of food lovers. Happy baking, everyone!
Homemade Olive Garden Breadsticks: Warm, Buttery & Irresistible!
Recreate the iconic, pillowy soft Olive Garden Breadsticks at home, drenched in their unmistakable garlic and butter topping. This recipe brings that authentic restaurant experience right to your kitchen!
Ingredients
-
1 ½ cups warm water (110°F)
-
2 ¼ teaspoons active dry yeast (1 standard packet)
-
1 tablespoon granulated sugar, plus a pinch
-
1 teaspoon salt
-
4 cups all-purpose flour
-
2 tablespoons olive oil, plus more for greasing
-
½ cup unsalted butter, melted
-
1-2 teaspoons garlic powder
-
Pinch of salt (optional, for topping)
Instructions
-
Step 1
In a large bowl, combine 1 ½ cups warm water (110°F), 2 ¼ tsp active dry yeast, and a pinch of granulated sugar. Let bloom for 5-10 minutes until a frothy layer forms on top. -
Step 2
Add the remaining 1 tbsp granulated sugar, 1 tsp salt, and 2 tbsp olive oil to the yeast mixture. Gradually mix in 4 cups all-purpose flour until a shaggy dough forms and starts to pull away from the sides of the bowl. -
Step 3
Knead the dough by hand for 10-12 minutes, or with a stand mixer (dough hook) on medium-low speed for 7-10 minutes, until it’s smooth, elastic, and springs back when poked. -
Step 4
Lightly grease a clean large bowl with olive oil. Transfer the dough, turning it once to coat. Cover the bowl tightly and let rise in a warm, draft-free spot for 1 to 1 ½ hours, or until doubled in size. -
Step 5
Gently punch down the risen dough and turn it out onto a lightly floured surface. Divide the dough into 16-20 equally sized pieces. Roll each piece into a 6-8 inch long, ½-¾ inch thick rope. Arrange the shaped breadsticks about 1 inch apart on parchment paper-lined baking sheets. -
Step 6
Lightly cover the shaped breadsticks and let them rise again in a warm, draft-free spot for 30-45 minutes, until visibly puffy. During the last 15 minutes of the second rise, preheat your oven to 375°F (190°C). -
Step 7
Bake for 12-15 minutes, or until the breadsticks are beautifully golden brown on top and bottom. -
Step 8
While the breadsticks bake, melt ½ cup unsalted butter. Stir in 1-2 teaspoons garlic powder and an optional pinch of salt. As soon as the breadsticks emerge from the oven, immediately and generously brush the tops and sides with the melted garlic butter mixture. (Optional: Sprinkle with extra garlic powder or dried parsley). -
Step 9
Serve your homemade Olive Garden Breadsticks warm. Store any leftovers in an airtight container at room temperature for up to 2-3 days; reheat in a 350°F (175°C) oven for 5-7 minutes.
Important Information
Nutrition Facts (Per Serving)
It is important to consider this information as approximate and not to use it as definitive health advice.
Allergy Information
Please check ingredients for potential allergens and consult a health professional if in doubt.